data
nature
science
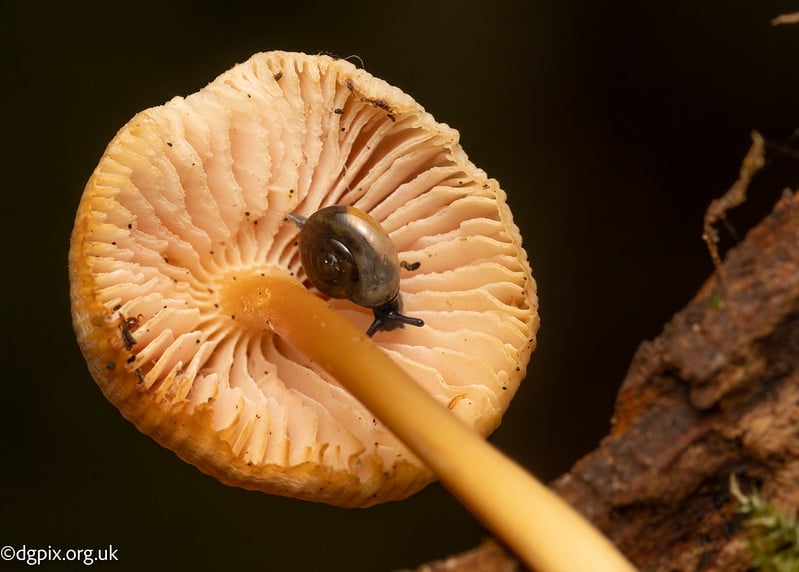

On 3 and 4 October, we ran a fungi photography workshop at Oxford Island National Nature Reserve with six attendees. The group brought a range of experience, skills and equipment, giving us different starting points for exploring the same subject.
The workshop brought together identification techniques in the field, the choices involved in making an image, and the editing that follows. For us, that connection between looking closely and understanding nature is central to the work we do.
Here is a look at the weekend's themes, with practical ideas you can apply to your own photography whilst enjoying fungi season.
The Oxford Island workshop brought six photographers together around macro photography, wide-angle compositions, lighting and editing. A mixed-experience group also provided an opportunity to share different approaches rather than concentrate on one camera system or software package. We had cameras and equipment from Canon, Nikon, Olympus and Sigma.
Learning did not all flow in one direction. We used Lightroom to demonstrate cataloguing and editing techniques, while attendees showcased their Luminar skills in the same areas. That exchange became an important part of the workshop's story, and everyone learned something, including us!
The photographs accompanying this recap bring together the fieldwork, camera setups and finished images. They offer a useful reminder that the process behind a photograph deserves attention alongside the final result.
Basic mycology helps you look beyond a mushroom's overall colour and notice the structures that make useful photographs. Depending on the subject, these include cap shape, stem features, gills or pores, and the material it grows on.
Mycology is the study of fungi. A mushroom is a fruiting structure rather than the whole organism. Fungi have different ecological roles: some break down dead material, some form relationships with plants, and others parasitise living organisms.
Our earlier articles on Spectacular Rustgill and Spinellus fusiger explore different examples. These are related reading, not identifications of the subjects photographed during this workshop.
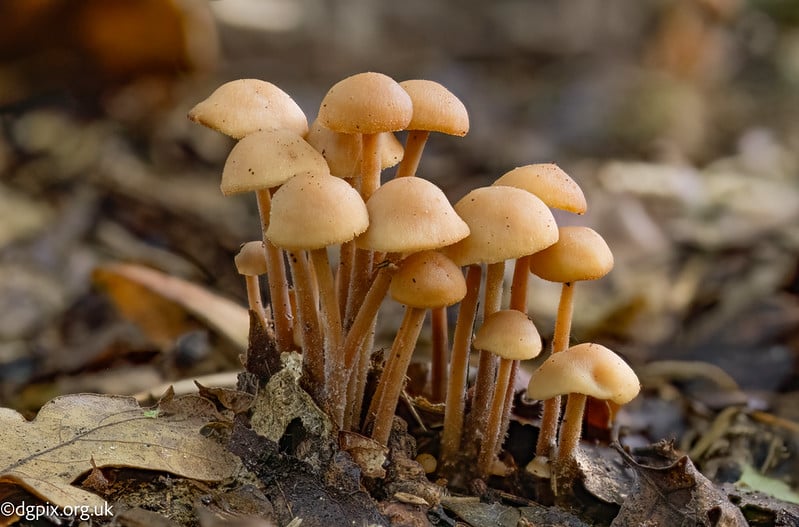
A useful identification record shows more than one view: the cap, underside, stem and surrounding habitat where these can be photographed without disturbance. Record the date, location and growth surface alongside your images.
The British Naturalists' Association provides an introductory identification guide. Our articles on Shaggy Parasol and Orange Pore Fungus also illustrate the range of structures worth observing.
Photographs alone may not resolve an identification. Some species require microscopy or other evidence, as explored in this Laccaria microscopy article. Never use this photography recap or an image-based identification to decide whether a fungus is safe to eat.
Macro and close-up photography let you concentrate on details such as cap texture, slender stems and the patterned underside of a fruiting body. Start by deciding which feature should hold the viewer's attention.
A low viewpoint can put the camera nearer the subject's level. At close distances, depth of field can be very shallow, so check focus carefully and compare aperture settings rather than assuming the whole subject will appear sharp.
A tripod, beanbag or other suitable support can help you refine the composition. Watch where you place it: avoiding damage to neighbouring subjects, moss and deadwood matters more than gaining a slightly easier angle.
We also discussed and used focus-stacking techniques that allowed for extended depth of filed and very controlled backgrounds.
Wide-angle fungi photography includes more of the surroundings, giving the subject a setting rather than isolating it completely. Leaf litter, moss and fallen wood can become part of the composition.
Move carefully and check the edges of the frame. A close foreground subject can dominate the picture, but a bright background patch or an awkward branch may compete for attention.
Choose focus and aperture for the scene in front of you, then inspect the result. A wider photograph does not need everything equally sharp; it needs a deliberate balance between the subject and its surroundings.
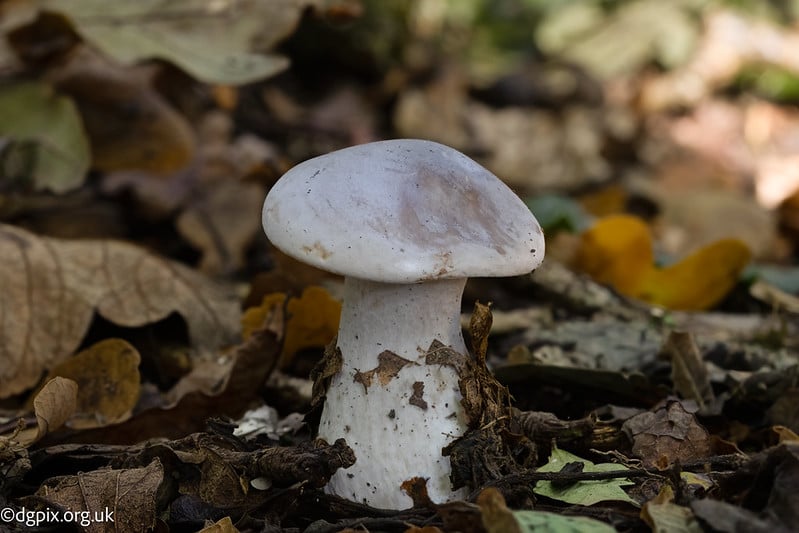
Diffused lighting helps control the contrast and reflections that can obscure delicate fungal textures. The aim is to make the light useful, not simply to make the subject brighter.
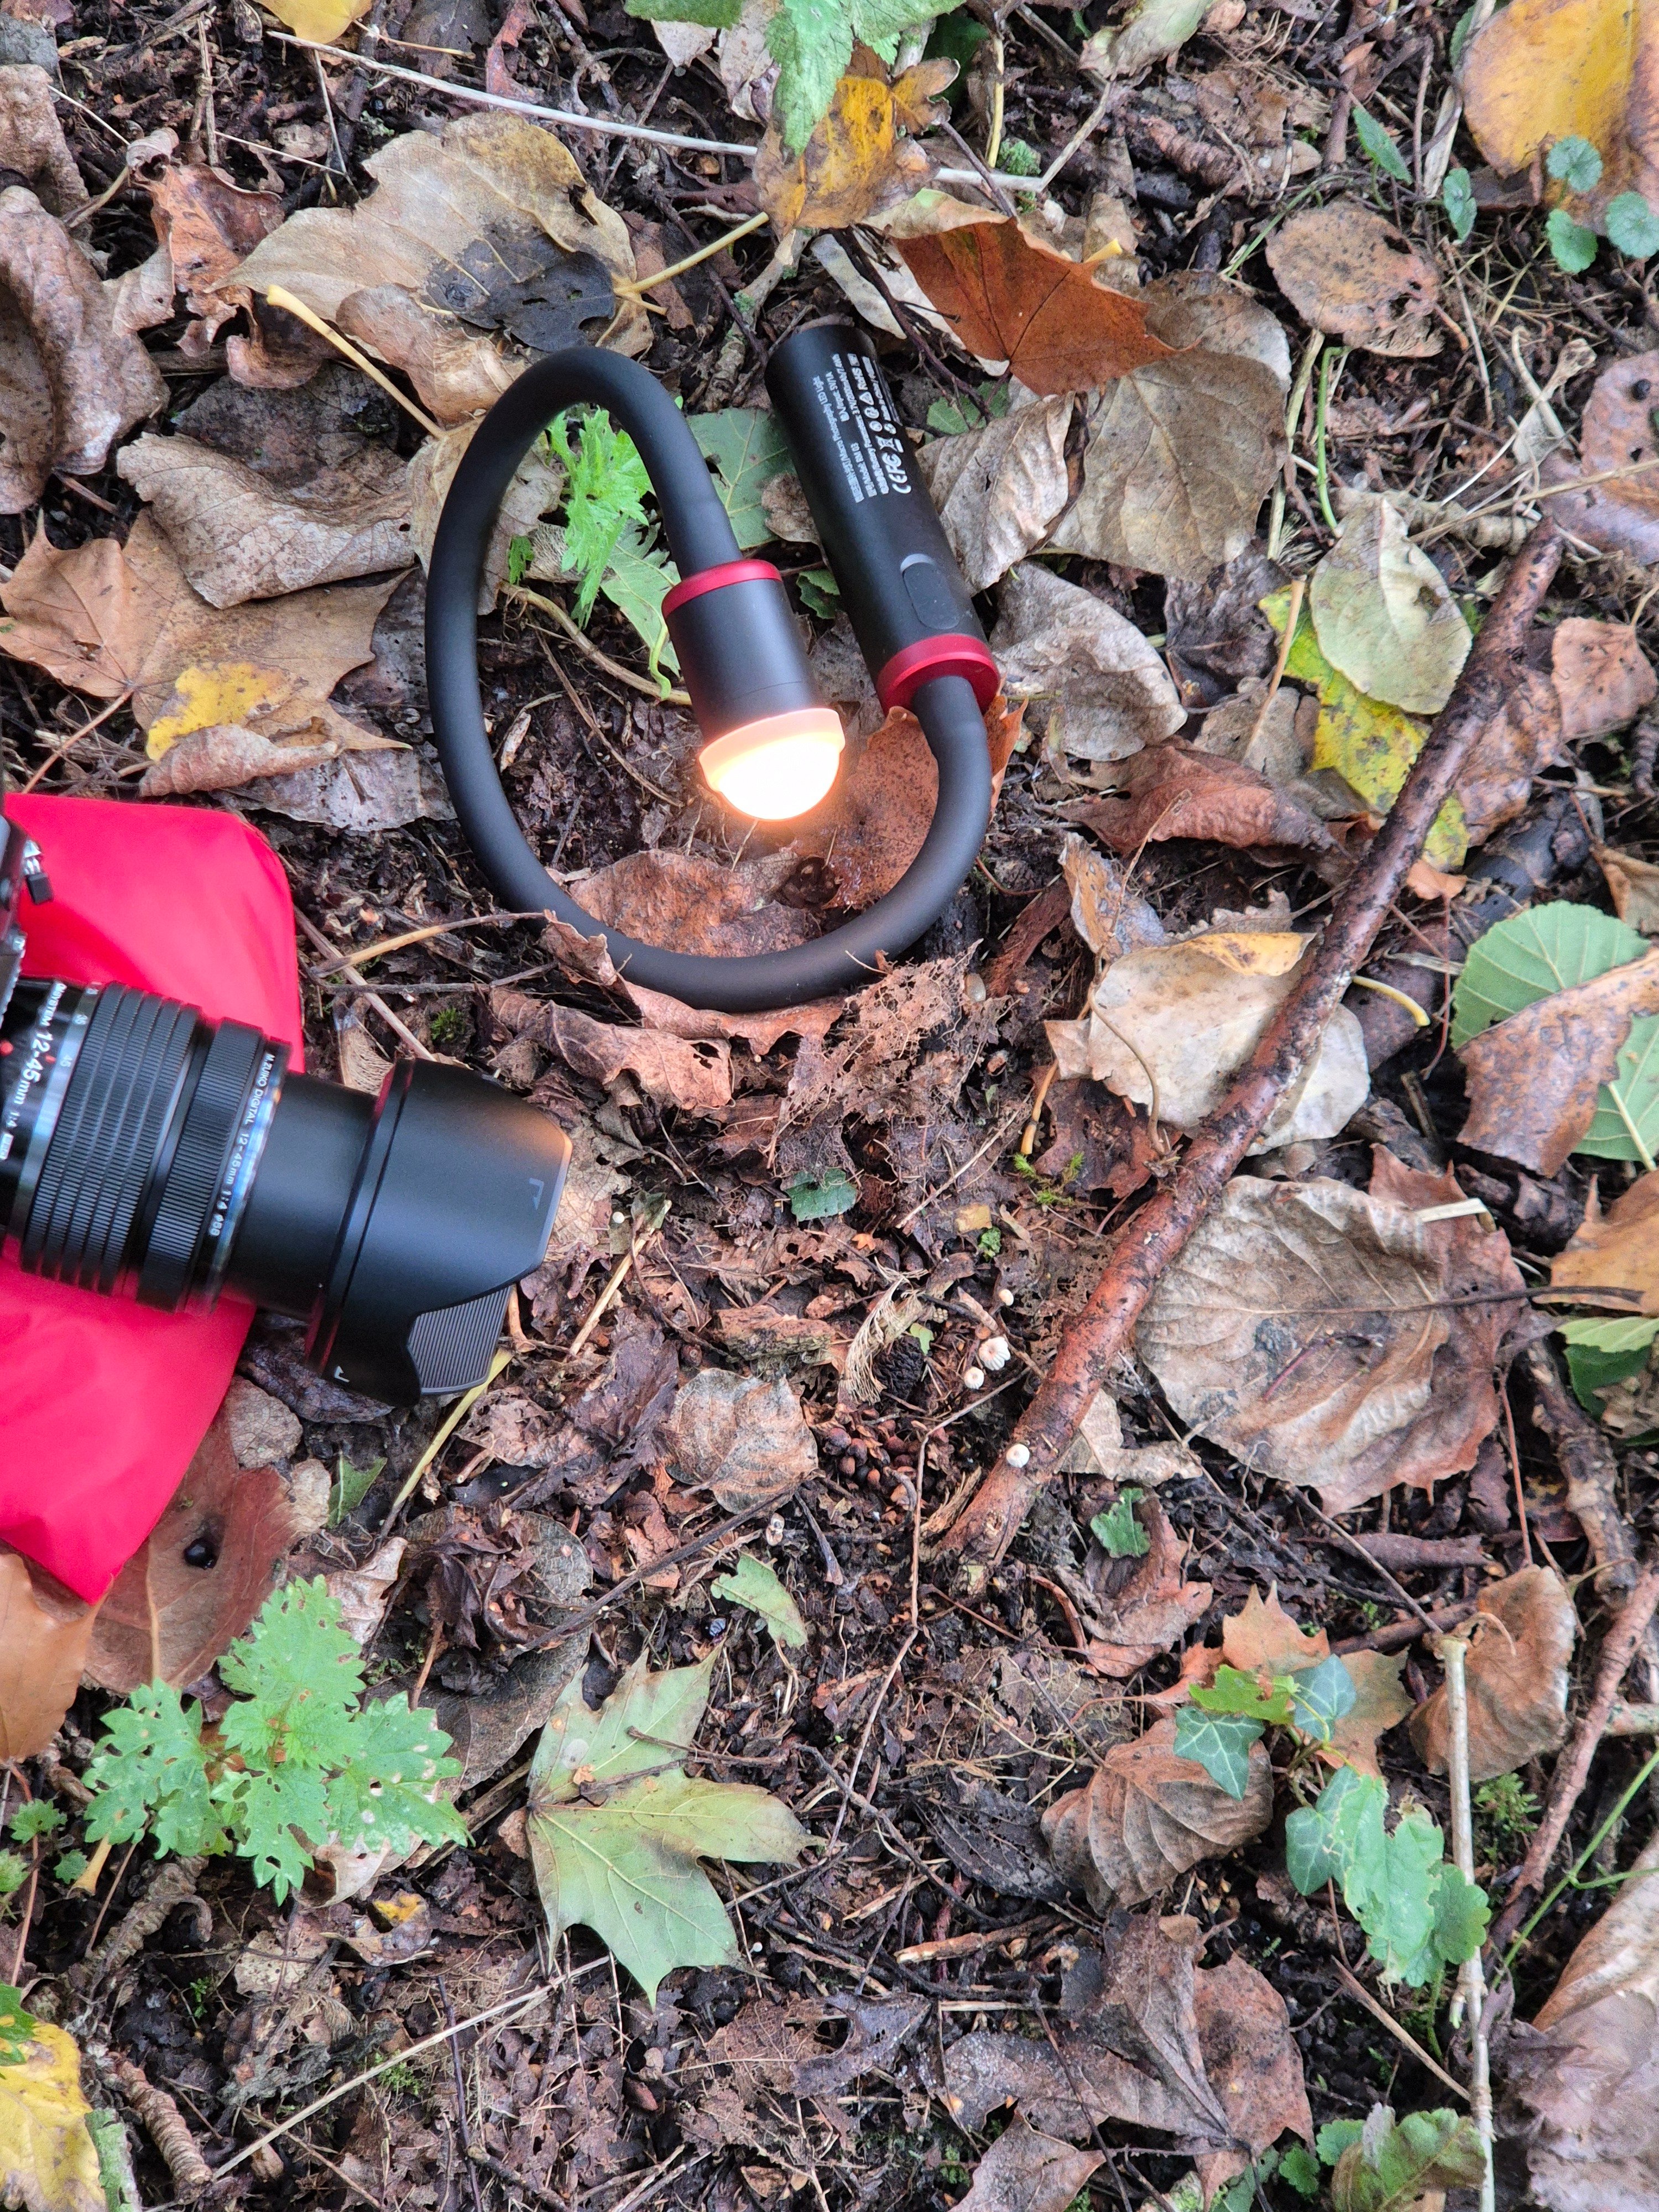
When using an additional light, compare its position, distance and diffusion while watching the cap and underside. Look for lost highlights, heavy shadows and reflections that distract from the subject.
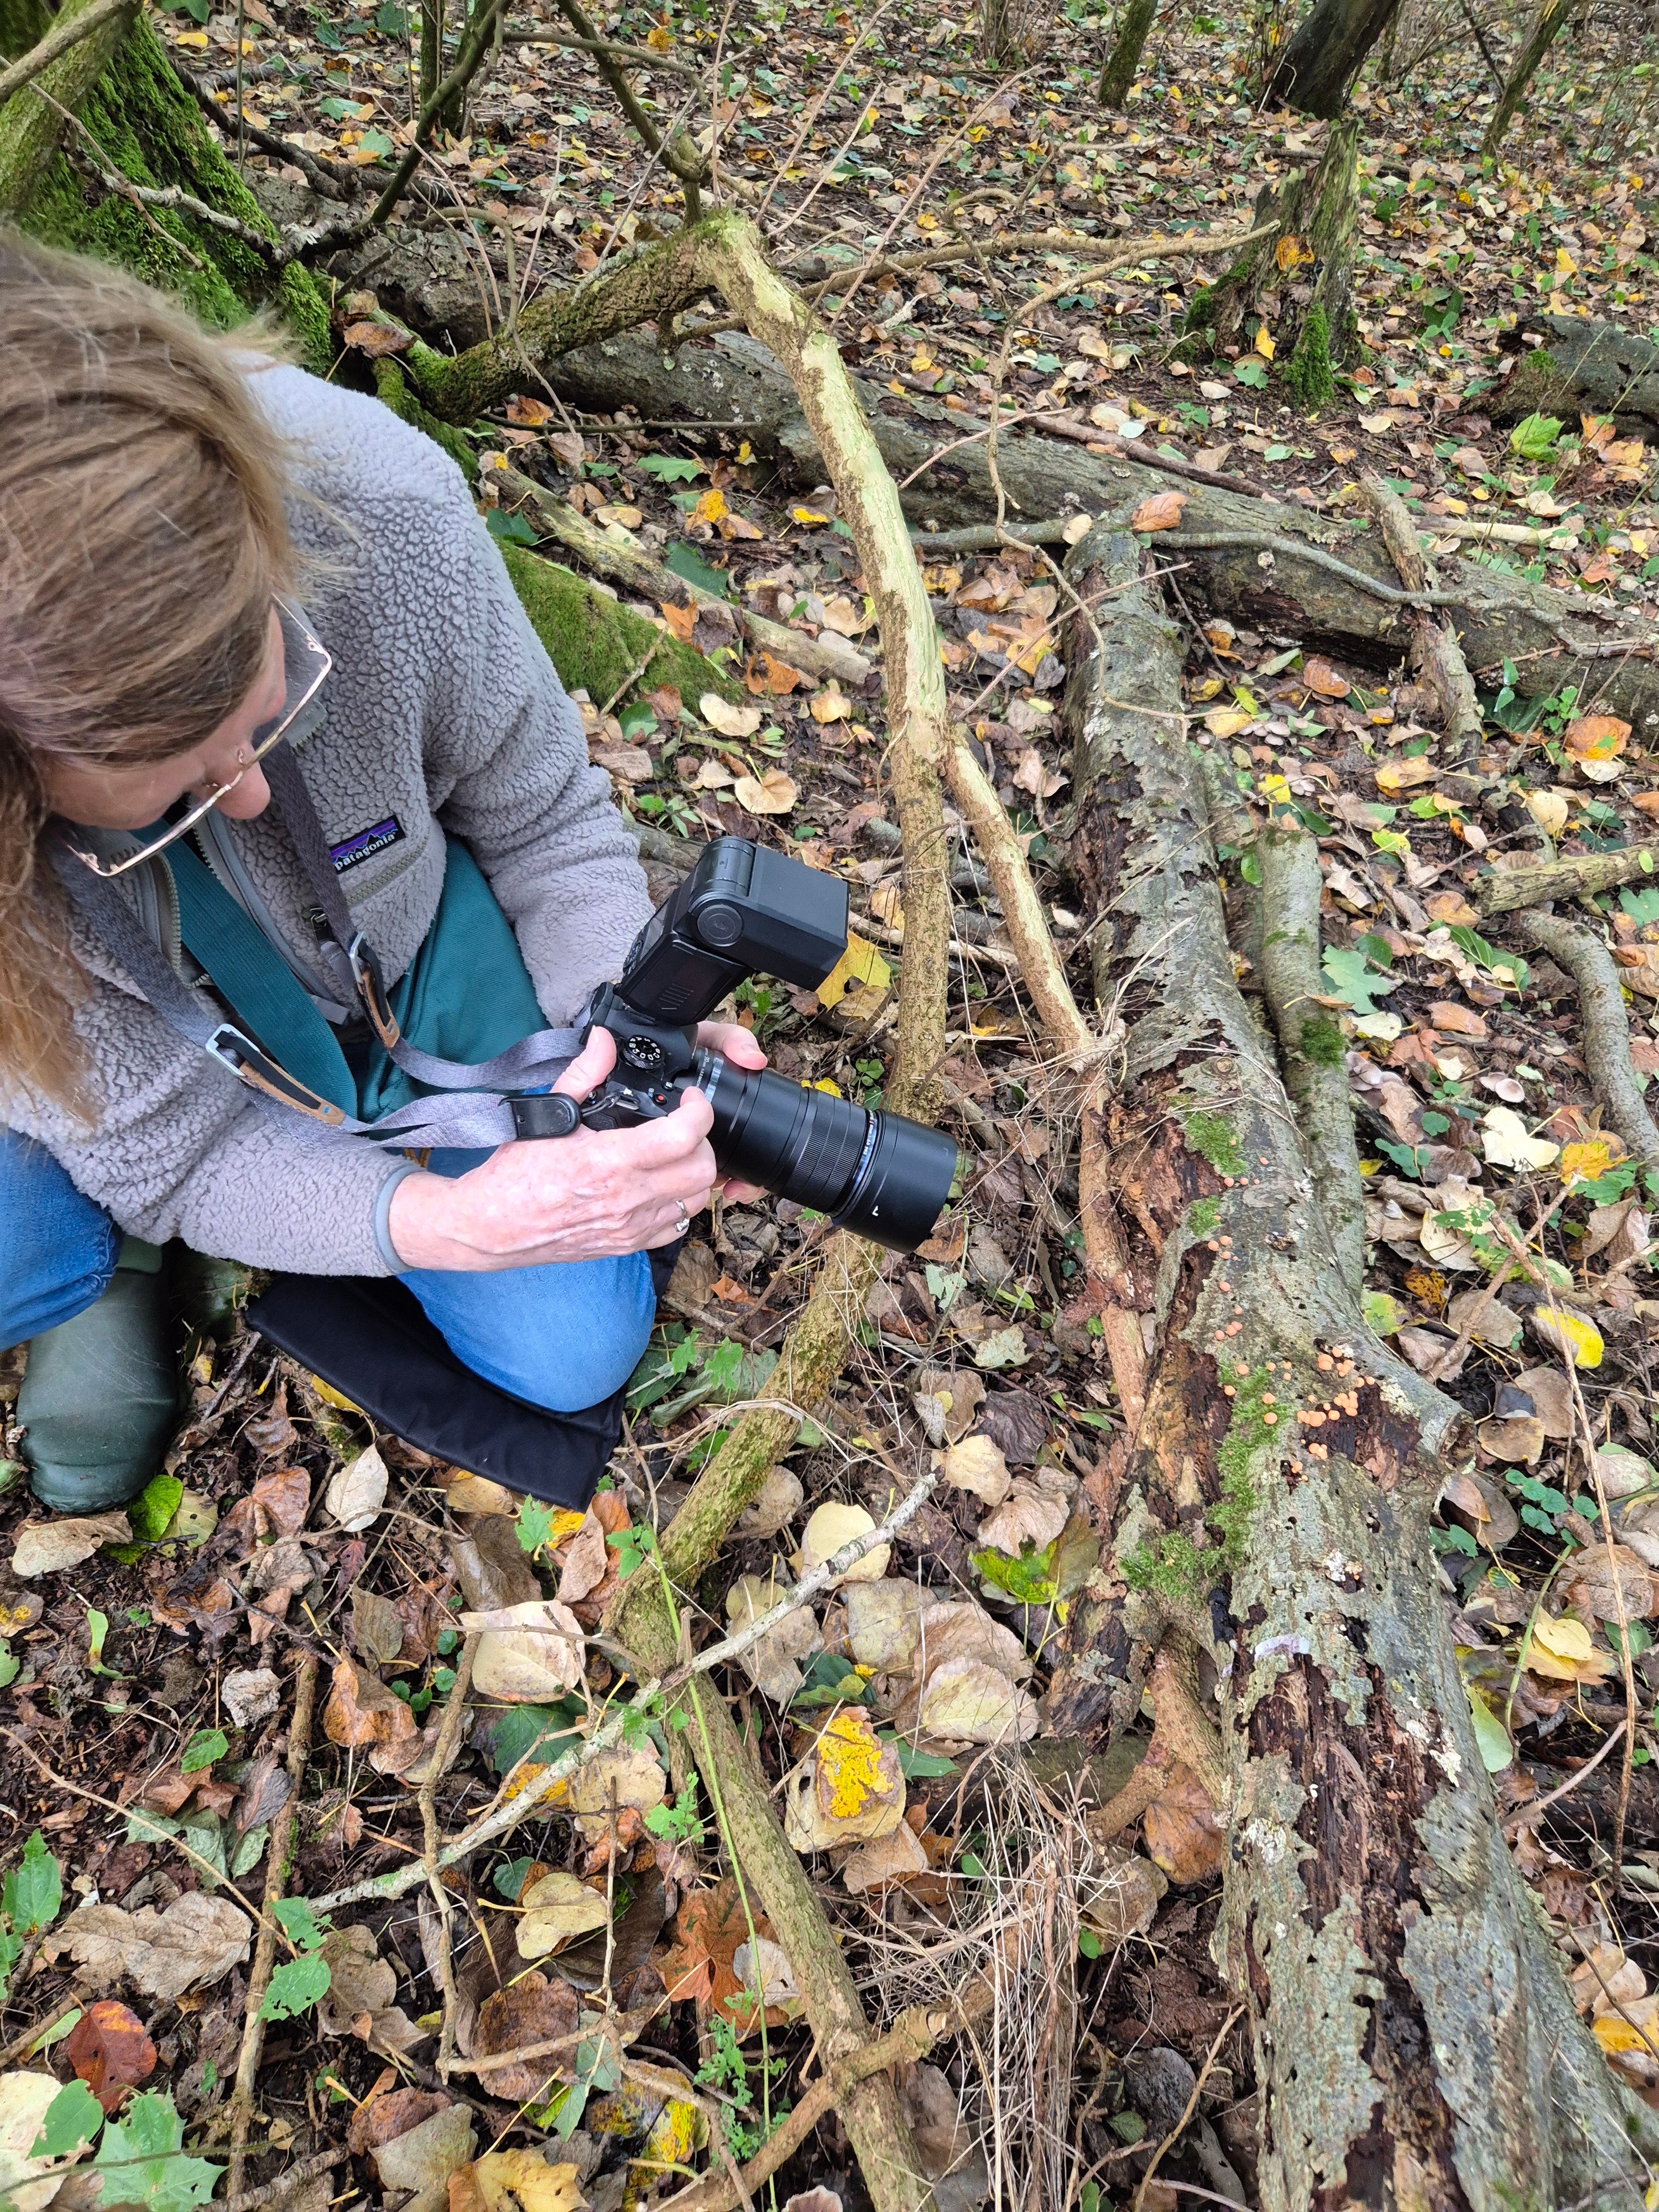
The behind-the-scenes photographs show the practical side of working with lighting near ground level. A finished photograph can hide those decisions, so including setup images helps connect the result with the work behind it.
Our editing discussion covered cataloguing, cropping, sharpening, noise reduction and background control. I demonstrated these areas in Lightroom, and attendees shared their Luminar skills using the same techniques.
That distinction matters: this was an exchange of approaches, not a comparison intended to choose a winning application. The useful question was what each adjustment contributed to the photograph, and we all took something away that we didn't know previously - a proper learning experience:
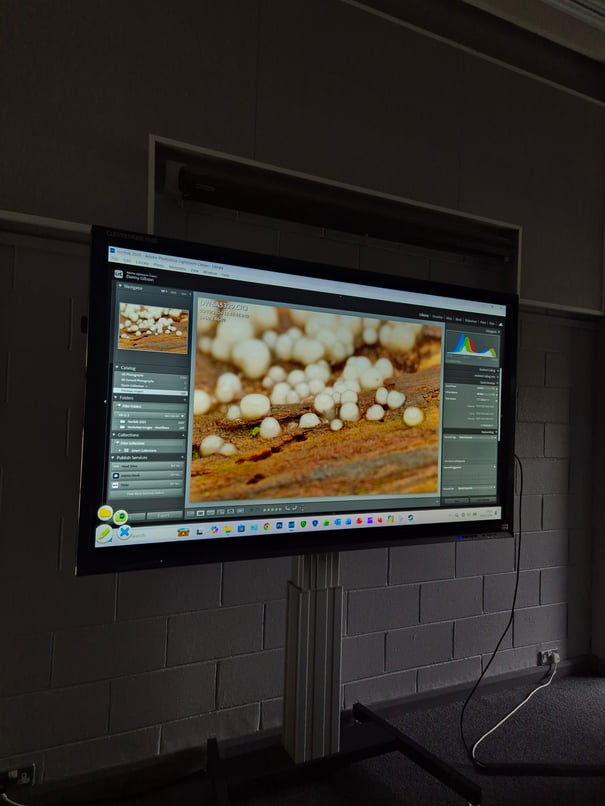
Cataloguing provides the organisational foundation for finding and revisiting your photographs. It also offers a place to keep useful information about a subject alongside the image.
Cropping changes how the viewer reads a composition. Compare a tighter frame with one that retains more habitat, and keep the original available. An identification record may need details that you choose to exclude from a finished artistic image.
Sharpening, noise reduction and background control work together to guide attention without overwhelming natural detail. Inspect fine textures closely, then step back and assess the image as a whole.
Too much sharpening can emphasise unwanted edges, while heavy noise reduction can smooth away texture. Background adjustments should support the subject rather than create an obvious outline around it.
For identification records, retain an unaltered original and avoid edits that change diagnostic colours or structures. The aim of a finished photograph may differ from that of a biological record, so keeping both versions is useful.
The workshop connected careful observation, field photography and editing through a shared subject. Bringing six attendees with different skills and equipment together gave us room for more than one approach. And as always, it wasn't whether we as the facilitators liked the images, it was whether the attendees were pleased with their results.
The Lightroom and Luminar exchange was a clear example: I demonstrated my workflow, and attendees contributed their own techniques. DGPix provided the workshop setting, while the group contributed to the learning - this is our trademark approach to workshops, everyone takes part and we all learn.
For your next outing, try making both a close-up and a habitat photograph, then compare what each reveals. Looking closely is a useful habit to carry into every visit outdoors. You can explore further examples in the DGPix nature blog.
A dedicated macro lens is useful for small details, but you can begin with equipment that focuses sufficiently close for your chosen subject. The DGPix workshop included a range of equipment, with both macro and wide-angle photography among its themes. Some even used longer lenses to control the background.
Diffusion helps you manage the light falling on the subject, including distracting reflections and harsh transitions between light and shadow. At the DGPix workshop, diffused lighting was part of the wider discussion about making deliberate photographic choices, when to use flash or external light became a key part of the day as the conditions were very changeable.
No. A photograph may omit important identification features, and some species need evidence beyond visible appearance. This article is about photography and observation, not foraging advice. Never use these images or this recap to make an edibility decision.
We will be launching more workshops in 2027, so keep an eye on the socials and website for updates on when and where these will take place.
